Foam Rolling Fundamentals
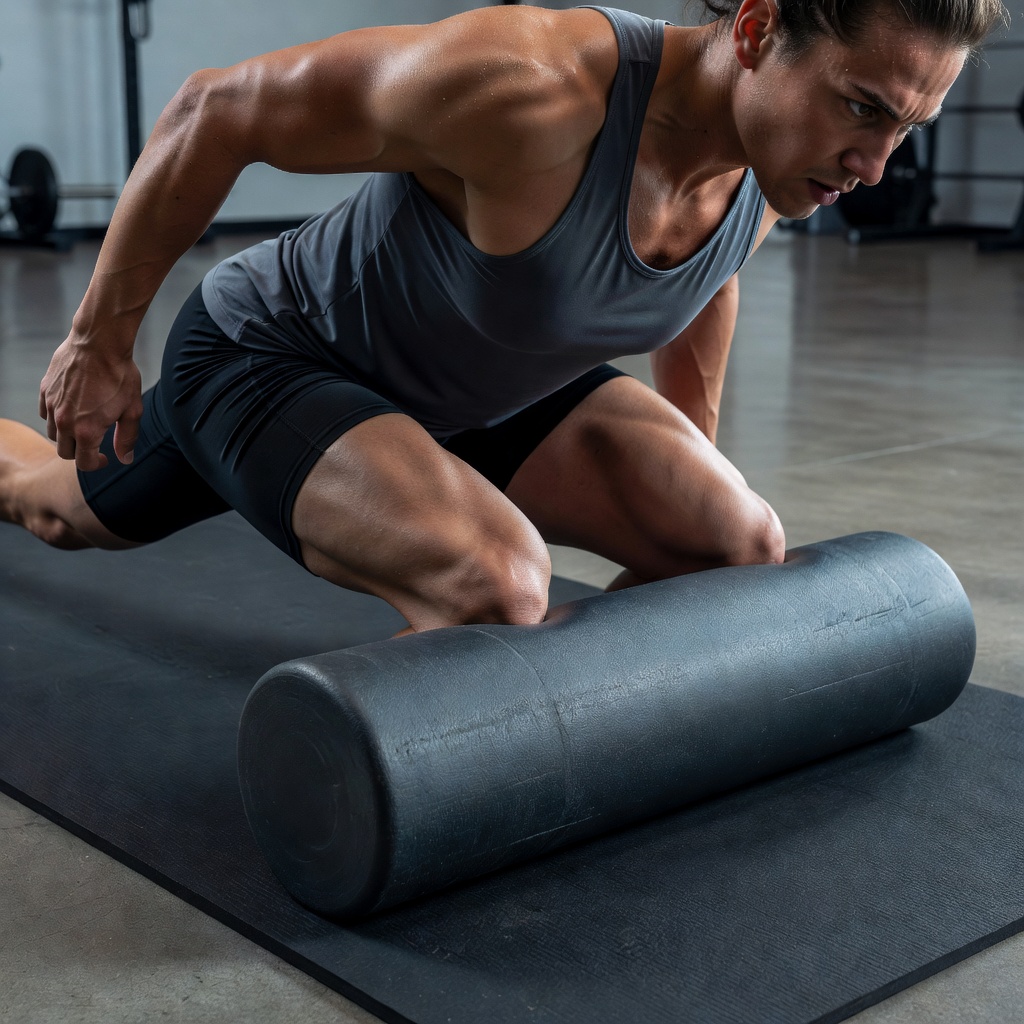
Introduction to Self-Myofascial Release
Foam rolling has transitioned from a specialized physical therapy tool into an essential component of the home fitness arsenal. Known technically as self-myofascial release (SMR), foam rolling applies sustained pressure to the body’s connective tissues (fascia) to eliminate tension, improve blood flow, and restore normal muscular function.
Fascia is a continuous web of tissue that wraps around every muscle, bone, and nerve in the body. Heavy physical exertion, repetitive stress, or prolonged sitting can cause this tissue to become bound up or restricted, leading to reduced mobility and localized discomfort. Foam rolling helps unbind these restrictions, making it an excellent protocol both pre-workout for mobility preparation and post-workout for recovery.
Choosing the Right Foam Roller
Not all foam rollers are created equal, and selecting the right density and texture is crucial for effective therapy without causing unnecessary bruising or pain.
- Low-Density (Soft) Rollers: Usually constructed from expanded polyethylene (PE) foam, these are ideal for beginners or individuals dealing with severe delayed onset muscle soreness (DOMS). They yield easily under body weight, offering a gentle massage.
- Firm (High-Density) Rollers: Made of expanded polypropylene (EPP) or EVA foam, these rollers maintain their shape under heavy pressure. They are best suited for athletes looking for deep tissue compression.
- Textured/Grid Rollers: These feature ridges and knobs designed to mimic the thumbs and fingers of a massage therapist. They provide a more targeted, intense pressure that helps release stubborn trigger points.
- Vibrating Rollers: Combining SMR with vibration therapy, these devices help further relax the nervous system and increase local circulation, though they come at a higher price point.
Basic Techniques and Application
To maximize the benefits of foam rolling, technique and pacing are paramount. Rapidly rolling back and forth over a muscle does little to release tight fascia. Instead, follow these guidelines:
1. The Sweep and Hold
Slowly sweep the length of the muscle at a rate of roughly one inch per second. When you encounter a tender spot (a trigger point), stop and hold the pressure on that exact spot for 30 to 45 seconds. You should feel the tension gradually dissipate. Breathing deeply during this process is essential to tell your nervous system that it is safe to relax the muscle.
2. Cross-Friction
Once you have located a trigger point and applied sustained pressure, gently shift your limb side to side (perpendicular to the muscle fibers) rather than up and down. This cross-friction helps to break up adhesions within the fascia.
Key Areas to Target
Integrating the following areas into your daily routine can yield massive improvements in lower-body and spinal mechanics.
Calves and Soleus
Tight calves can restrict ankle dorsiflexion, which negatively affects walking and squatting mechanics. Sit on the floor with your legs extended and the roller beneath your calves. Lift your hips off the ground to apply body weight, slowly rolling from the Achilles tendon up to the base of the knee.
Quadriceps and IT Band
The quadriceps take a beating from running, cycling, and weightlifting. Lie face down with the roller under your thighs. Roll from the top of the knee up to the hip. For the Iliotibial (IT) band on the side of the leg, turn onto your side. Note: The IT band itself is thick connective tissue that cannot stretch much; rolling the muscles attaching to it (like the TFL and glutes) often provides more relief than rolling the band directly.
Thoracic Spine (Upper Back)
To combat the hunched posture associated with desk work, place the roller horizontally across your mid-back (just below the shoulder blades). Keep your knees bent, feet flat on the floor, and support your head with your hands. Gently extend your upper back over the roller, exhaling as you stretch backward. Never roll your lower back (lumbar spine) as it lacks the skeletal support of the rib cage and can easily be hyperextended.
Pros and Cons of Foam Rolling
| Pros | Cons / Limitations |
|---|---|
| Highly accessible and cost-effective | Can be painful initially for beginners |
| Improves acute range of motion | Results are often temporary without stretching |
| Increases local blood flow | Incorrect technique can bruise tissue |
| Can be done independently at home | Not suitable for acute joint injuries |
Conclusion
Foam rolling is a powerful foundational tool for home recovery. By understanding tissue density, respecting your body's pain signals, and applying slow, methodical pressure to restricted areas, you can effectively enhance your mobility, reduce soreness, and prepare your body for its next physical challenge.